Showing posts with label dessert. Show all posts

Monday, September 2, 2013

Salted Caramel Cheesecake


This post is way overdue. In fact I made this cheesecake nearly a year ago for my dad's birthday. I kept meaning to post it, but that whole becoming a doctor thing kind of put a damper on posting things. ha.

Anyway, I thought this cheesecake would be perfect to make for my dad since he loved cheesecake and he loves caramel. Fantastic!

I found this recipe on The Modern Apron via Pinterst. It just looked so yummy and the rave reviews on the site made this one a no brainer. 

And I'm not going to lie. This cheesecake was awesome! And messy, but mainly awesome! The best part? You can freeze slices that you don't use and take them out whenever you want a sweet treat!! Yes, that was an awesome realization! Just make sure the container you put the cheesecake in is level or else the caramel will kind of slide off! You have been warned...

 Alright, here we go!

First you'll need to make the crust. First those graham crackers need to become crumbs. Put those puppies in the food processor and pulse away. Then add the sugar and salt, pulse some more, and finally drizzle the butter in to make it a bit mushy.


Once it's all nice and mixed together, it's time to press the mixture into the pan. I didn't have quite enough (I think I made some sections too thick) so it didn't go to the top of the pan, but it still worked! Once it's all packed in, bake it a bit and let 'er cool.

Now it's cheesecake time! Everything slowly gets added to the mixer (see the order below) until it's all nice and smooth. Then add the mixture to crust and pop it in the oven. After the cheesecake cooks, let it cool. Then refrigerate it.

Now the hard part begins. Now I say that it's the hard part only because I seriously thought I was doing something wrong at least three times. ha. Heat together the water and sugar, but only swirl it. This was super stressed in The Modern Apron and I trusted that process!


After the sugar mixture was ready, removed from the heat, and then the cream and butter. Now here is where it looks like it all went to hell in a hand basket. This is what I saw when I started to whisk and I FREAKED OUT.

The Modern Apron said to keep on going so I did. I'm so glad when blogs give those little bits of reassurance. If you keep whisking, it eventually (and seemingly miraculously) becomes smooth! The lovely caramel concoction gets poured onto the top of the cheesecake, put back into the fridge, and voila! An AMAZING cheesecake!!!

Seriously. Go make this. Now.

Salted Caramel Cheesecake
Source: The Modern Apron

Crust:
15-20 graham crackers (15 was too little for me, so I would up it)
3 tbsp granulated sugar
1 stick unsalted butter, melted
1 1/4 tsp kosher salt
Cheesecake:
3 8oz packages cream cheese, at room temperature
1 13-14 oz. can dulce de leche
2 tbsp flour
3 tsp kosher salt
1 1/4 cup granulated sugar
1 tsp vanilla extract
4 large eggs, at room temperature

Caramel topping:
1/2 cup granulated sugar
3 tbsp water
1/2 cup heavy cream
2 tbsp butter
1 tsp kosher salt
1 tsp vanilla extract
 
Making the crust
1. Preheat the oven to 375F.
2. In a food processor, pulse the graham crackers until they are crumbs.
3. Add the sugar and salt to the food processor and pulse again.
4. Drizzle the melted butter into the food processor while it is running and keep going until it is combined.
5.  Spray a 9" or 10" springform pan with cooking spray.
6. Press the crumb mixture into the bottom of the pan and up the sides around 2".
7. Bake the crust until it is slightly brown, approximately 10-12 minutes.
8. Remove the crust from the oven and cool on a rack.
9. Reduce oven to 300F.

Making the cheesecake
1. Using a paddle attachment in a mixer, beat the cream cheese until smooth.
2. Add dulce de leche and beat to combine.
3. Add flour and salt and beat to combine, scraping sides as necessary. Continue beating for approximately 5 minutes until the mixture is smooth and fluffy.
4. Add sugar and beat to combine.
5. Add vanilla.
6. Turn the blender on low and add each egg one at a time allowing 30 seconds a per egg. Then turn off the blender.
7. Pour the cream cheese mixture into the crust. Smooth the top.
8. Bake the cheesecake for 55-65 minutes at 300F. According to The Modern Apron, the center should be only slightly set and should be a bit wobbly if you move it.
9. Cool completely on a rack.
10. Cover and refrigerate for 8 hours or overnight.

Making the caramel
1. Combine the sugar and water in a large saucepan over medium heat.
2. Swirl the sugar and water mixture to combine. DO NOT STIR!!!
3. Cook mixture until the sugar turns golden brown while swirling occasionally (approximately 3-5 minutes).
4. Remove saucepan from heat.
5. Add butter. Whisk quickly and then add cream. Be forewarned the mixture will foam and seize, but it'll be fine!
6. Add vanilla extract and whisk.
7. Return to medium low heat and continue whisking until smooth.
8. Allow caramel to cool about 15 minutes.
9. Remove cheesecake from refrigerator and remove spring form. Place on a plate or cake stand which is larger than the cheesecake.
10. Pour caramel on top of cheesecake. 
11. Return cheesecake to the refrigerator for approximately 30 minutes until the caramel is set.

Thursday, February 28, 2013

Tres Leches Cake

Ok ok, so I made a plan to post more, but I failed miserably with that. I have, however, been doing new recipes and doing nifty projects. Now it's just time to post them! Alright, back to the fun stuff...
I am a sucker for cake. It just makes me happy. I can't help it! When I checked out this recipe for Tres Leches Cake courtesy of The Pioneer Woman, I was a bit concerned. There was a LOT of liquid being poured onto that cake! But I decided to give it a shot....And here we go!

Here's what you'll need. Look at all that liquid!!


First you add all the dry ingredients together. Then you need to separate a whole boat load of eggs. Oh yes, this recipe is SUPER HEALTHY! That's why it tastes so good :) Check out the nifty egg separating doohickey I found in the kitchen. It made my life so much easier and was awesome! I must buy one...But I digress.
 

 Throw those yolks in the mixer with the sugar and get mixing!


 Then add the milk and vanilla and mix some more! But this time only a little bit.


 Once it is combined, add the yolk-y yummy mixture (don't eat it though. you know, salmonilla and all that jazz) to the dry ingredients. Mix just to combine. 

Now quickly clean the mixer and the bowl and get to whipping up the egg whites to some nice peaks. I always find it nuts that egg whites can turn into such fluffiness!! Thank you to Alton Brown from Good Eats for letting me know why that happens! I love that guy...But again I digress....Beat the eggs to soft peaks then add the sugar and beat some more till the peaks are stiff.


Fold the egg white mixture into the egg yolk mixture but just until combined! Then add it to the baking dish.


 Bake that baby for 35-45 minutes. Once it's done, take it out and allow it to cool. Then poke a bunch of holes in it with a fork. Like a lot of holes.I had a bit of an issue finding a plate to put this cake on so we had to cut it a bit first (quality control and all) and I put it on the best plate I could find. Ideally you want a plate that the cake can sit in and has a rim of some sort.


 Next is the odd part (at least it was for me). Combine the sweetened condensed milk, evaporated milk, and heavy cream together. I warned you this wasn't the healthiest of cakes! Once it's all together, pour all but 1 cup of the milky concoction onto the cake. Yes, you read that right. Pour the it all over the cake including the edges. I freaked out a little when I did this at first because the milk sort of sat there initially, but if you waited it all got sucked up by the cake! Craziness....


Give the cake 20-30 minutes to suck up all the goodness. Then it's frosting time! Well, whipped cream time. Add the heavy cream and the sugar to the mixing bowl and whip it up good.


 Once the frosting seems to the consistency of your liking, ice the cake and voila! You're done.


I have to say I was a bit skeptical about this cake, but it was delicious! Be forewarned that the bottom of the cake in the middle can get extra mushy if you have plate that isn't entirely flat under the whole cake, but we ate it regardless. Enjoy!!

Tres Leches Cake
Source: The Pioneer Woman

1 cup flour
1-1/2 tsp baking powder
1/4 tsp salt
5 eggs, divided
1 cup sugar, divided
1
tsp vanilla
1/3 cup milk
1 can evaporated milk
1 can sweetened, condensed milk
1/4 cup heavy cream


Frosting:

1 pint heavy cream
3 tbsp sugar


1. Preheat oven to 350 degrees. Grease or spray a 9 x 13 inch pan.
2. Combine flour, baking powder, and salt in a large bowl.
3. Separate eggs and beat egg yolks with 3/4 cup sugar on high speed until yolks are pale yellow. Stir in milk and vanilla. Pour egg yolk mixture over the flour mixture and stir very gently until just combined.
4. Beat egg whites on high speed until soft peaks form. With the mixer on, pour in remaining 1/4 cup sugar and beat until egg whites form stiff peaks. 
5. Gently fold egg white mixture into the batter until just combined. Pour into prepared pan.
6. Bake for 35 to 45 minutes or until a toothpick comes out clean. Turn cake out onto a rimmed platter and allow to cool.
7. Combine condensed milk, evaporated milk, and heavy cream in a small pitcher. When cake is cool, pierce the surface with a fork several times. Slowly drizzle all but about 1 cup of the milk mixture onto the cake.
8. Allow the cake to absorb the milk mixture for 30 minutes.
9. For frosting whip 1 pint heavy cream with 3 tablespoons of sugar until thick. Spread over the surface of the cake.

Sunday, October 14, 2012

Caramel Apple Cider Cookies...My oh my

I have been staring at this pin on Pinterest for, well, ever, but never got around to make it until yesterday. I mean I love caramel and apples and cookies so this seemed like a no-brainer.

Now yesterday seemed like the first real day of fall with the chill and it was homecoming in my hometown so I thought it was as good a day as any for cookies. This recipe came from Scrambled Henfruit. Here's what you need.

Prep work time! I needed a slightly bigger bowl....C'est la vie. And can I just say that unwrapping caramels is a pain in the ass!!


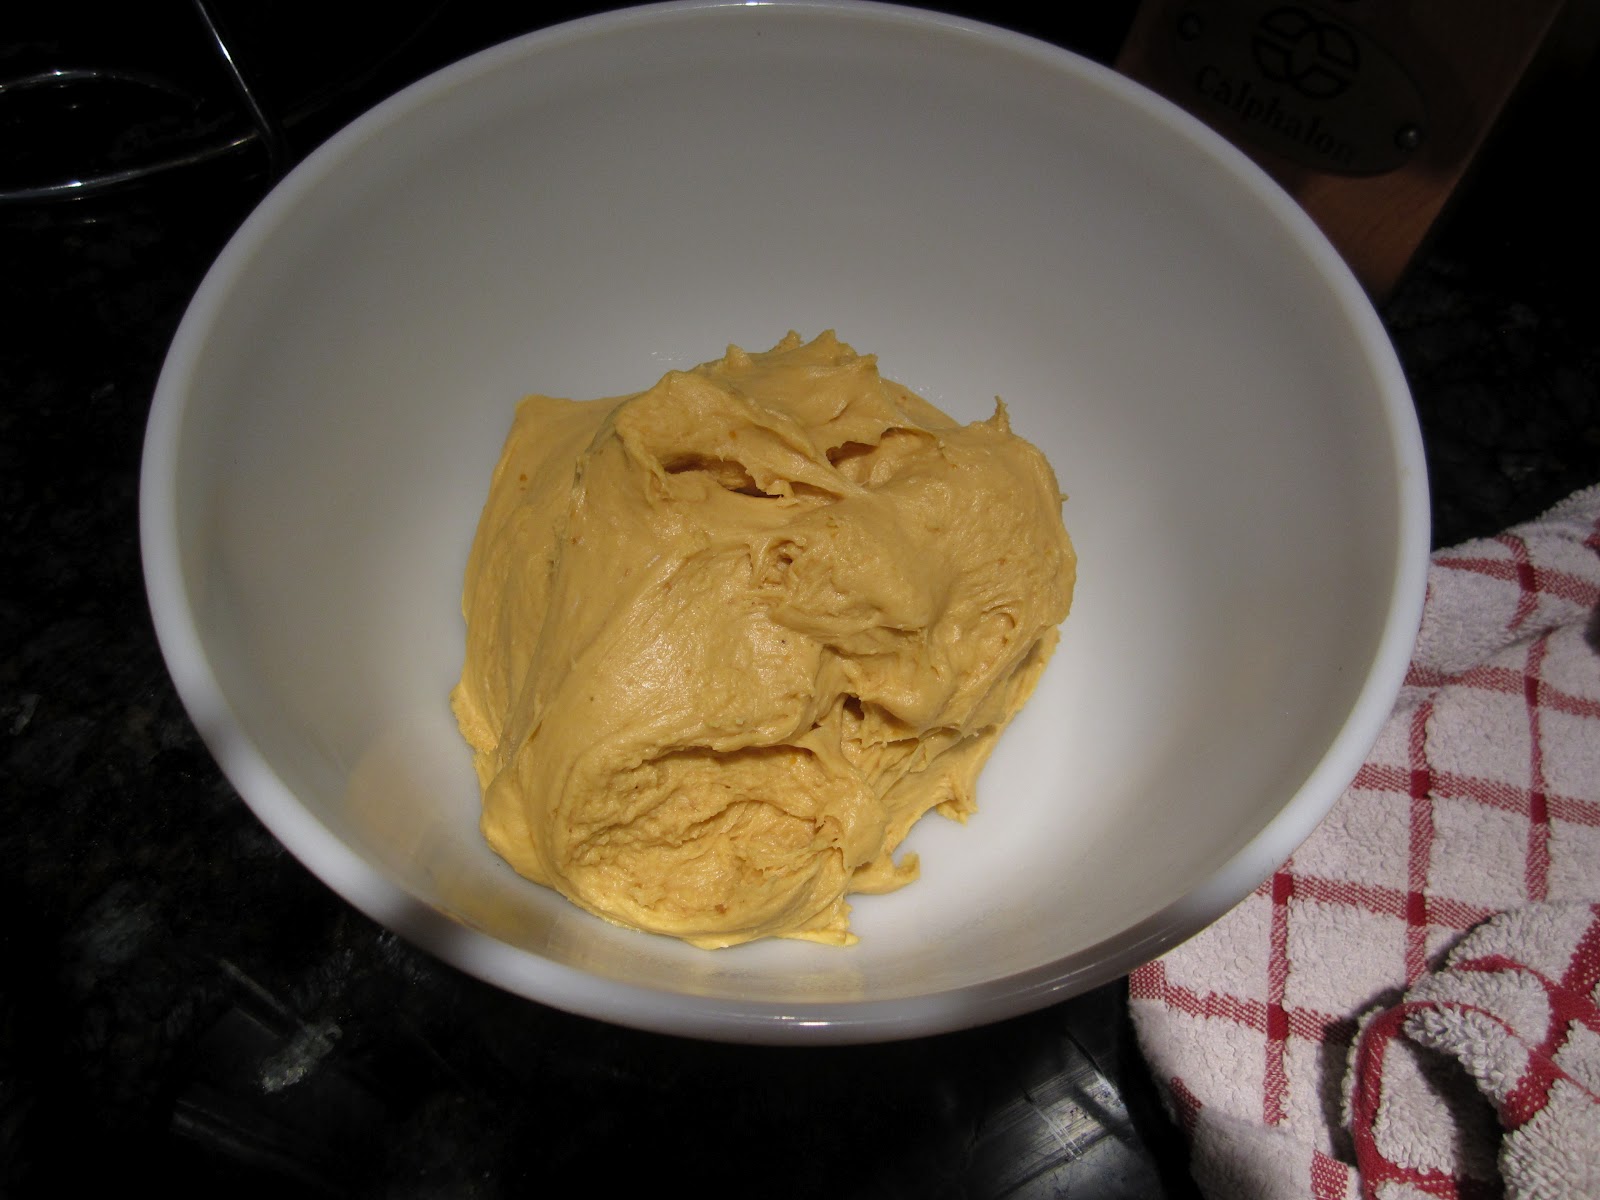
Hello dough. ha

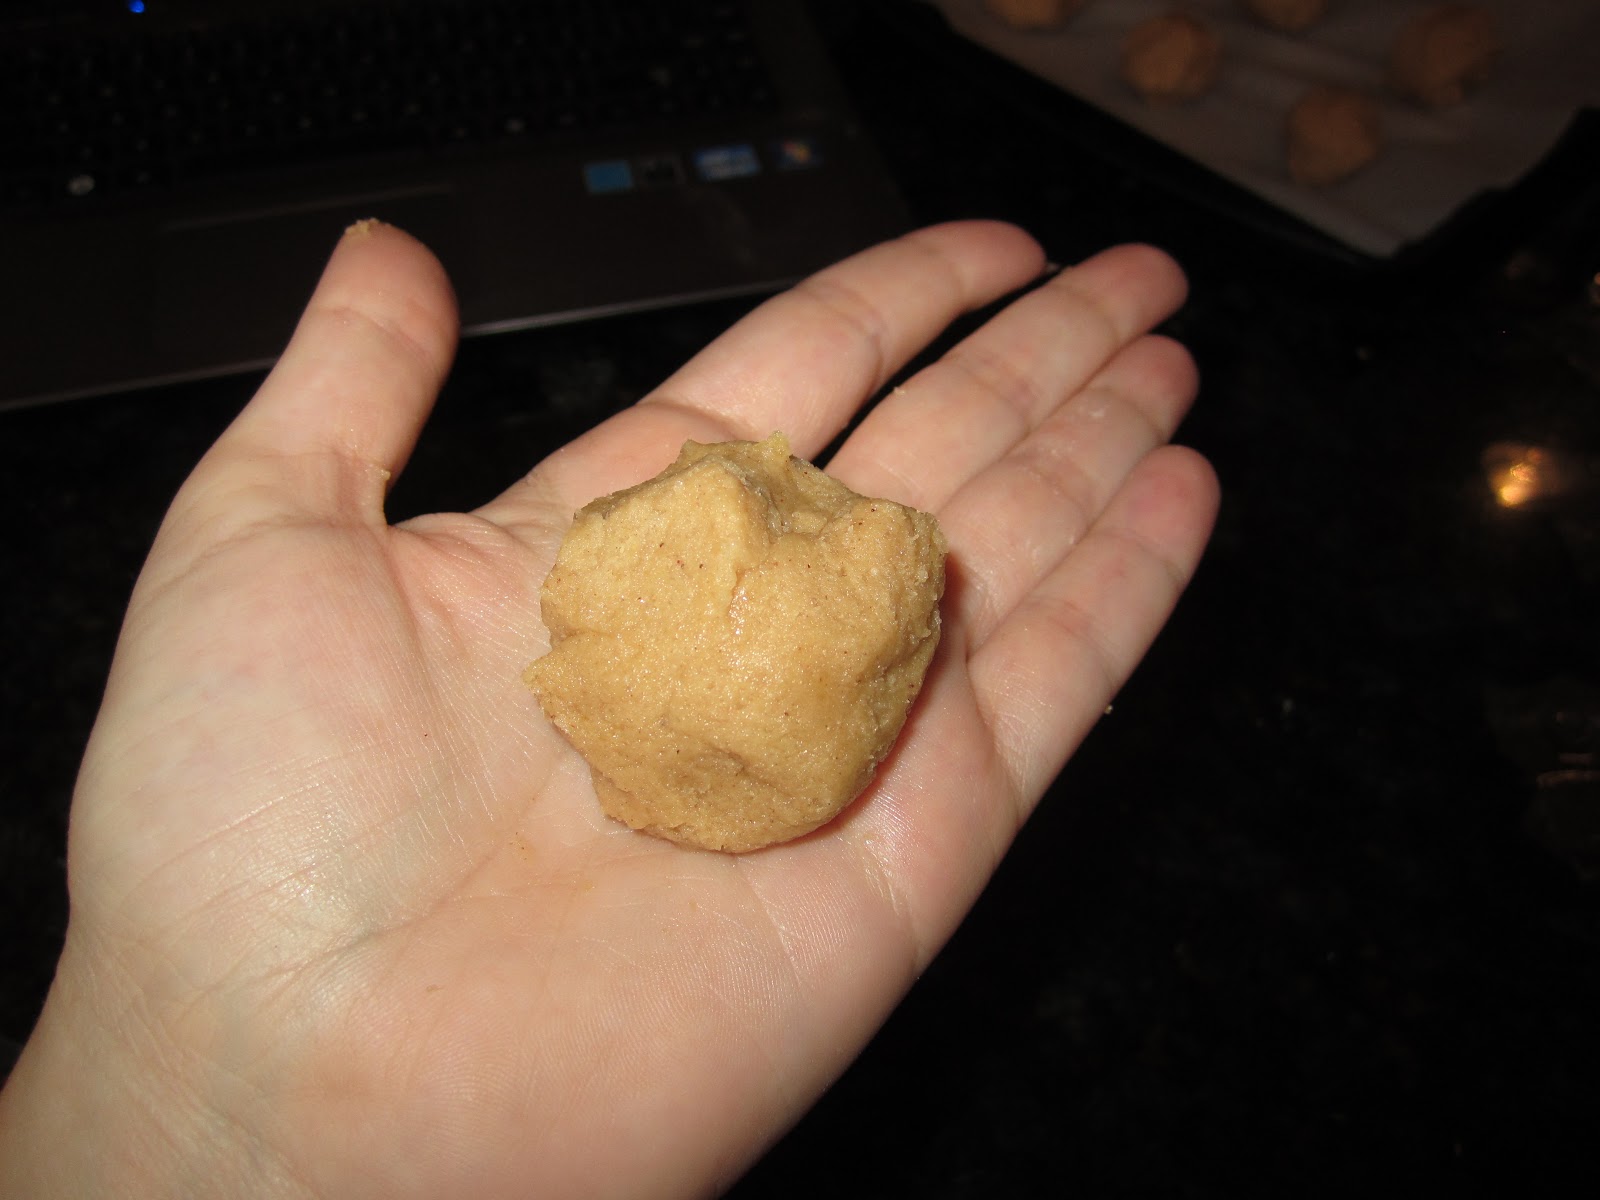
I was supposed to put the dough in the fridge for an hour, but I am impatient. I probably should have listened, however, since this stuff was super sticky and was all over my hands.

Now you see the caramel. Now you don't!


 Pre- and post-oven cookies


 And here's the finished product! Super yummy!


Couple recommendations though. Make sure you let the cookies cool before you take them off the parchment paper so that the caramel doesn't ooze out the bottom. Also if you don't eat the cookies soon after they come out of the oven, reheat them a little in the microwave so that the caramel is oozy again.

Enjoy!!

Caramel Apple Cider Cookies
Source: The Cooking Photographer via Scrambled Henfruit
Makes 3-4 dozen cookies (mine made 3)

2 sticks of butter, softened
1 cup sugar*
1/2 tsp salt
1 box Alpine Spiced Apple Cider Instant Drink Mix (all 10 packets)*
2 eggs
1 tsp vanilla
1 tsp baking soda
1/2 tsp baking powder

1 tsp cinnamon
3 cups flour
1 (14 oz.) bag caramels


*I could only find Sugar-Free so I added an extra 1/2 cup of sugar (1 1/2 total), just because. 

Preheat the oven 350° F. Line the cookie sheets with parchment paper otherwise you'll have a sticky mess! Set the cookie sheets aside.

Combine the dry ingredients (flour, baking soda, baking powder, salt, and cinnamon) in a separate bowl.

In your mixer, add the butter, sugar, and apple cider mix and beat it until it's fluffy and smooth. Add the eggs and vanilla and mix until combined. Next add the flour mixture slowly into the mixer until just combined.

If you have time, refrigerate the dough for an hour. It will help to make the dough easier to deal with. If not, full speed ahead! But you have been warned...

Unwrap all the caramels. Scoop out about a tablespoon of dough. Flatten the dough out in your hand, place a caramel in the middle, and wrap the dough around the caramel. Make sure the caramel is completely covered. Then place the cookie on the parchment lined cookie sheet 2 inches apart.

Bake the cookies for 12-14 minutes (mine took more towards the 14) or until very lightly browned around the edges.

After the cookies are done, lift the parchment paper off the baking sheet and allow it to cool on the counter. DON'T TOUCH THEM until they are cooled a bit. Then twist the cookies off and store in an air-tight container.

Thursday, October 4, 2012

More Pumpkin! Pull-Apart Cinnamon Sugar Pumpkin Bread!

I'm sticking with the pumpkin theme since I love it and I had leftover after the Pumpkin Pasta. Since I have also been craving cinnamon rolls, I decided to go with a recipe I made for New Years Even, Pull-Apart Cinnamon Sugar Pumpkin Bread! I was also told this stuffy is also called Monkey Bread in some places? Whatever, it just tastes....Yum....

This recipe came courtesy of Sunny Side Up and it was relatively easy. Just a lot of waiting...And I hate waiting. But I love this bread so...WORTH IT!

Now the last time I made this recipe, I did something wrong I think. Maybe I didn't let the dough rise enough or maybe the pan was too small. Who knows. All I know is that last time this recipe EXPLODED out of the pan. Fortunately only a couple of the pieces were lost and it was still awesome. Allow me to show you....

Yeah it was nutty. It looked like a mad scientist's experiment. ha. I also made the rum topping that the recipe recommended, but I wasn't really a fan of that so this time around I nixed the rum. It was just too much for me.

You can find the recipe here. Here are the ingredients, although I forgot the vanilla.


 First you brown the butter. I don't think I browned it enough, but eh, it happens. And then we added the milk.


Next step was to to proof the yeast


Add the rest the pumpkin, flour, sugar, and yeast. Then kneed the hell out of it!! Yeah buddy...God I love my Kitchen Aid Mixer.


 Let it rise for an hour or so and then punch it. This is the dough post-punch as you can tell from the imprint.

Roll that puppy out and then add the cinnamon sugar butter filling. I went with putting the melted butter on the dough and then adding the sugar mixture. I think I needed a bit more butter because it was pretty dry.


Then I cut it all up into 36 square pieces and then shoved them all into the pan.  My pieces were a bit thinner than last time because the darn dough got stuck. C'est la vie.


Then it's time to bake that puppy at 350 degrees for 30-40 minutes. Based on my previous experience, I highly recommend that you put cookie sheet on the rack below the pan because sometimes the squares pop and last time it kind of oozed over the side and made a lovely mess on the bottom of my stove.

Here it is fresh out of the oven. I had to use all my self control to not start eating it right then and there because there is still the topping to make!!


I went with the vanilla instead of the rum. Yeah for melted butter and vanilla and sugar!!


And tada! The finished product!And it was just as awesome this time as it was last time which was evident from how quickly mom and I inhaled half of it immediately. Warm, gooey, awesomeness.