Showing posts with label The Book. Show all posts

Sunday, June 30, 2013

Southwestern Pulled Brisket Tacos


Oh sweet brisket. How I love thee...

I was slightly hesitant to make this since it was relatively close to St. Patrick's Day and I was afraid people would be so packed to the gills with corned beef that the prospect of brisket would not be received well. That fear dissipated as soon as this puppy started cooking.

I had found this recipe ages ago via Smitten Kitchen (a website that I LOVE for recipes BTW), but since I was living alone up until recently it seemed silly to cook a whole brisket just for me. If I could go back in time, I would have totally made it. It was that good.

There are only 2 downfalls of this. The first is that brisket can be freaking expensive! Damn I had no idea. And second I wanted to eat it before it was done because it smelled so good!

Now the brisket doesn't need to be made into tacos. The initial recipe suggested it could also be made into sandwiches or whatever. I just personally really liked the idea of it in a taco and it tastes awesome. I'm also not usually a fan of slaw, but it was also quite yummy as part of the taco. Everyone agreed. It is, however, quite messy. You have been warned!  Anyway, on with the recipes!

Here's what you'll need for the brisket.


First things first, a warning about this initial first couple steps. This stuff is going to smoke like whoa so make sure fans are on and/or windows are open. Second I left the fat on the brisket because it was super easy to take off later.

So first you brown the meat and then cook the garlic and onions with the spices (cumin, coriander, and chili powder). Then into the crockpot it all goes!!


Then all the rest of it goes into the crockpot. The initial recipe called for using a can of whole tomatoes and crushing the tomatoes between your fingers. I just kind of dumped them in because, well, I was lazy.


Add the cover and set that puppy to low and sit back and relax for 8-10 hours! I went for 10 and it was perfect. I mean PERFECT! It pulled apart soooo easily it was amazing!


I took the meat out, shredded it, took the bay leaves out of the pot, and then dumped the shredded meat right back into the crockpot. When, not if, I do this again I will probably use an immersion blender and mix up all the goodness that's in the crockpot a little. It was a smidge chunky which didn't work as well when serving it.

Once you are ready to serve, add some of that lovely, tasty meat to some warmed soft taco shells, top with some slaw and dig in!


Southwestern Pulled Brisket
Source: Adapted from The Food Network via Smitten Kitchen


3 lbs beef brisket
Kosher salt
Freshly ground black pepper
2 tbsp vegetable oil
5 cloves garlic, peeled and smashed
1 Spanish onion, halved and thinly sliced
1 tbsp chili powder
2 tsp ground coriander
2 tsp ground cumin
1/4 cup apple cider vinegar
1 1/2 cups water
1 (14 1/2-ounce) can whole peeled tomatoes, with their juices
1 chipotle chiles en adobo (they come in a can), chopped
2 bay leaves
1/4 cup molasses

1. Season the beef generously with salt and pepper, to taste.
2. Heat a large, heavy skillet over medium-high heat.
3. Add the oil and heat just it starts to smoke.
4. Add the meat to the skillet and cook around 10 minutes until browned on both sides by turning once (5 minutes per side).
5. Move the meat to the slow cooker.
6. Add garlic, onion, chili powder, coriander, and cumin to the drippings in the skillet.
7.  Return skillet to heat and stir for about one minute until fragrant.
8. Add vinegar and boil until most of the vinegar is gone while scraping the bottom of the pan with a wooden spoon. Beware of vinegar fumes in the steam!!
9. Add the water and stir to combine.
10. Pour mixture into the crockpot over the brisket.
11. Add tomatoes (with the juices), chipotles, bay leaves, and molasses to the crockpot.
12. Cover crockpot, set to LOW, and cook brisket for 8 to 10 hours until brisket pulls apart easily.
13. Remove brisket from crockpot and remove the layer of fat.
14. Remove bay leaves from crockpot.
15. Using immersion blender, thin the mixture in the crockpot to your desired thickness.
16. Shred the brisket using two forks and return the meat to the liquid mixture in the crockpot.
17. Make tacos using soft shell tacos with the meat.

Sunday, October 14, 2012

Caramel Apple Cider Cookies...My oh my

I have been staring at this pin on Pinterest for, well, ever, but never got around to make it until yesterday. I mean I love caramel and apples and cookies so this seemed like a no-brainer.

Now yesterday seemed like the first real day of fall with the chill and it was homecoming in my hometown so I thought it was as good a day as any for cookies. This recipe came from Scrambled Henfruit. Here's what you need.

Prep work time! I needed a slightly bigger bowl....C'est la vie. And can I just say that unwrapping caramels is a pain in the ass!!


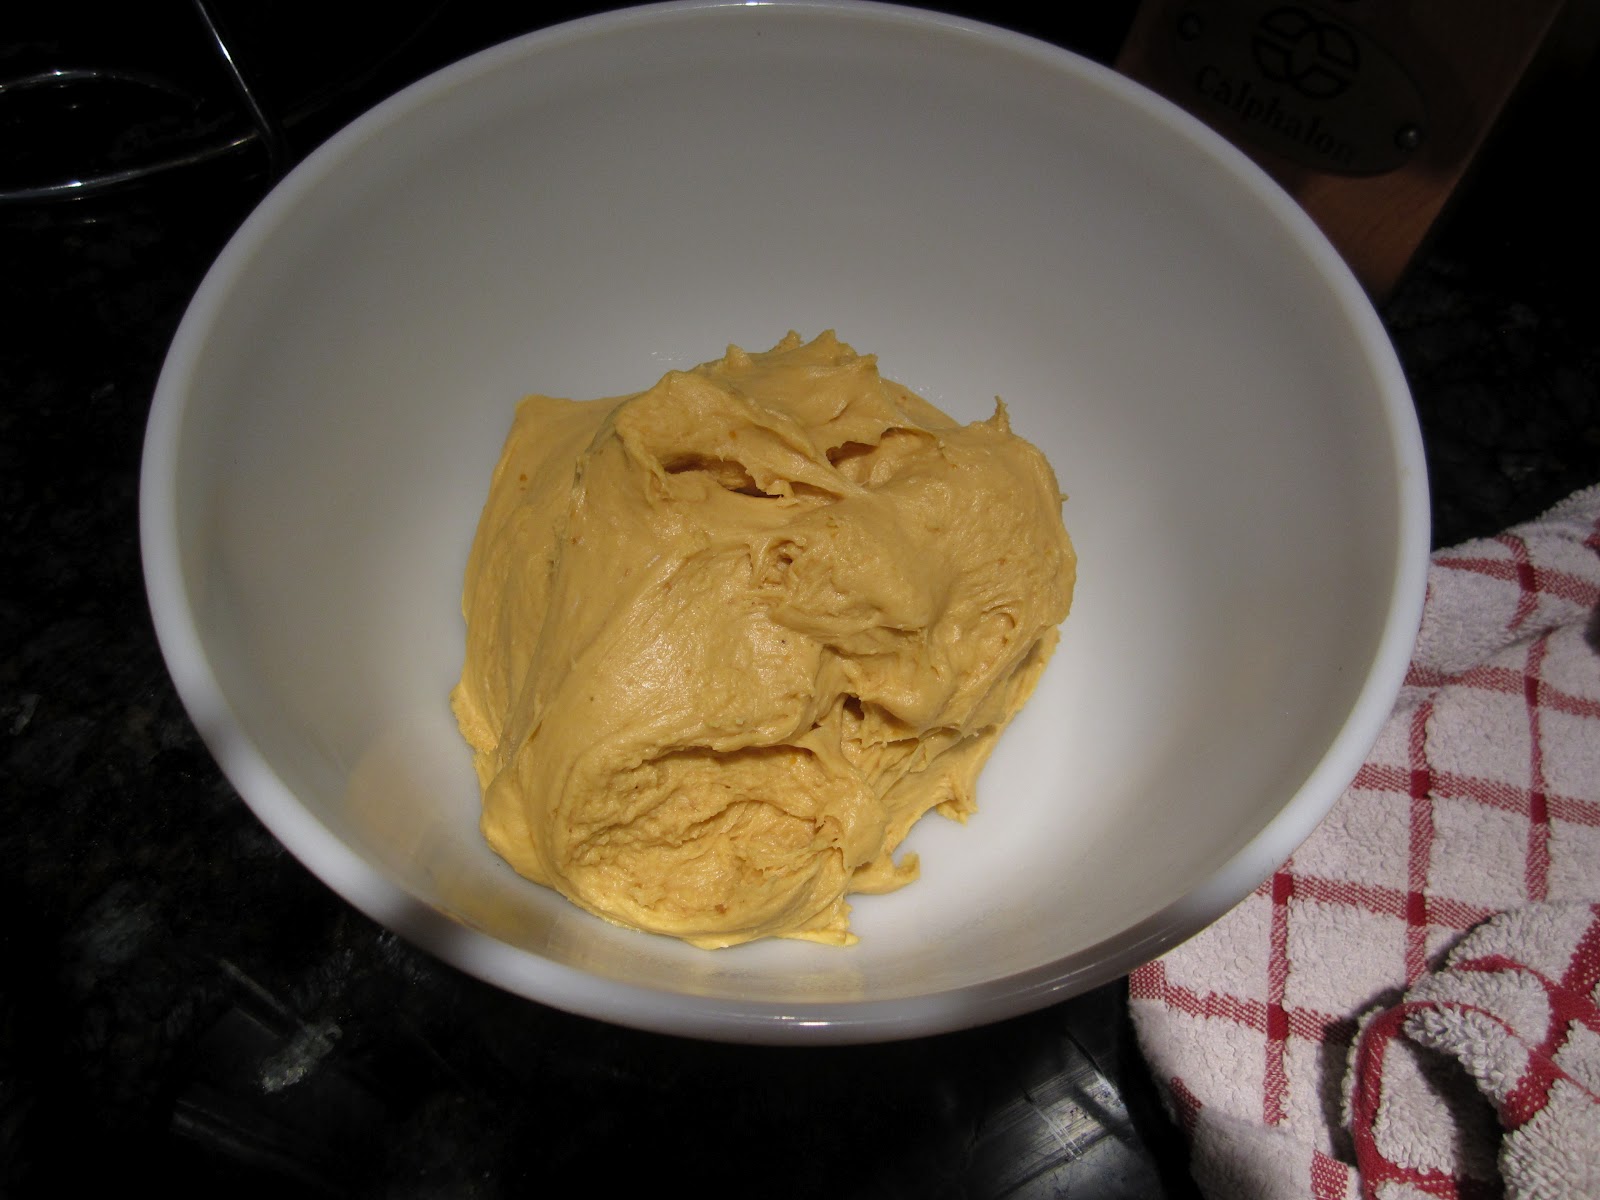
Hello dough. ha

I was supposed to put the dough in the fridge for an hour, but I am impatient. I probably should have listened, however, since this stuff was super sticky and was all over my hands.

Now you see the caramel. Now you don't!


 Pre- and post-oven cookies


 And here's the finished product! Super yummy!


Couple recommendations though. Make sure you let the cookies cool before you take them off the parchment paper so that the caramel doesn't ooze out the bottom. Also if you don't eat the cookies soon after they come out of the oven, reheat them a little in the microwave so that the caramel is oozy again.

Enjoy!!

Caramel Apple Cider Cookies
Source: The Cooking Photographer via Scrambled Henfruit
Makes 3-4 dozen cookies (mine made 3)

2 sticks of butter, softened
1 cup sugar*
1/2 tsp salt
1 box Alpine Spiced Apple Cider Instant Drink Mix (all 10 packets)*
2 eggs
1 tsp vanilla
1 tsp baking soda
1/2 tsp baking powder

1 tsp cinnamon
3 cups flour
1 (14 oz.) bag caramels


*I could only find Sugar-Free so I added an extra 1/2 cup of sugar (1 1/2 total), just because. 

Preheat the oven 350° F. Line the cookie sheets with parchment paper otherwise you'll have a sticky mess! Set the cookie sheets aside.

Combine the dry ingredients (flour, baking soda, baking powder, salt, and cinnamon) in a separate bowl.

In your mixer, add the butter, sugar, and apple cider mix and beat it until it's fluffy and smooth. Add the eggs and vanilla and mix until combined. Next add the flour mixture slowly into the mixer until just combined.

If you have time, refrigerate the dough for an hour. It will help to make the dough easier to deal with. If not, full speed ahead! But you have been warned...

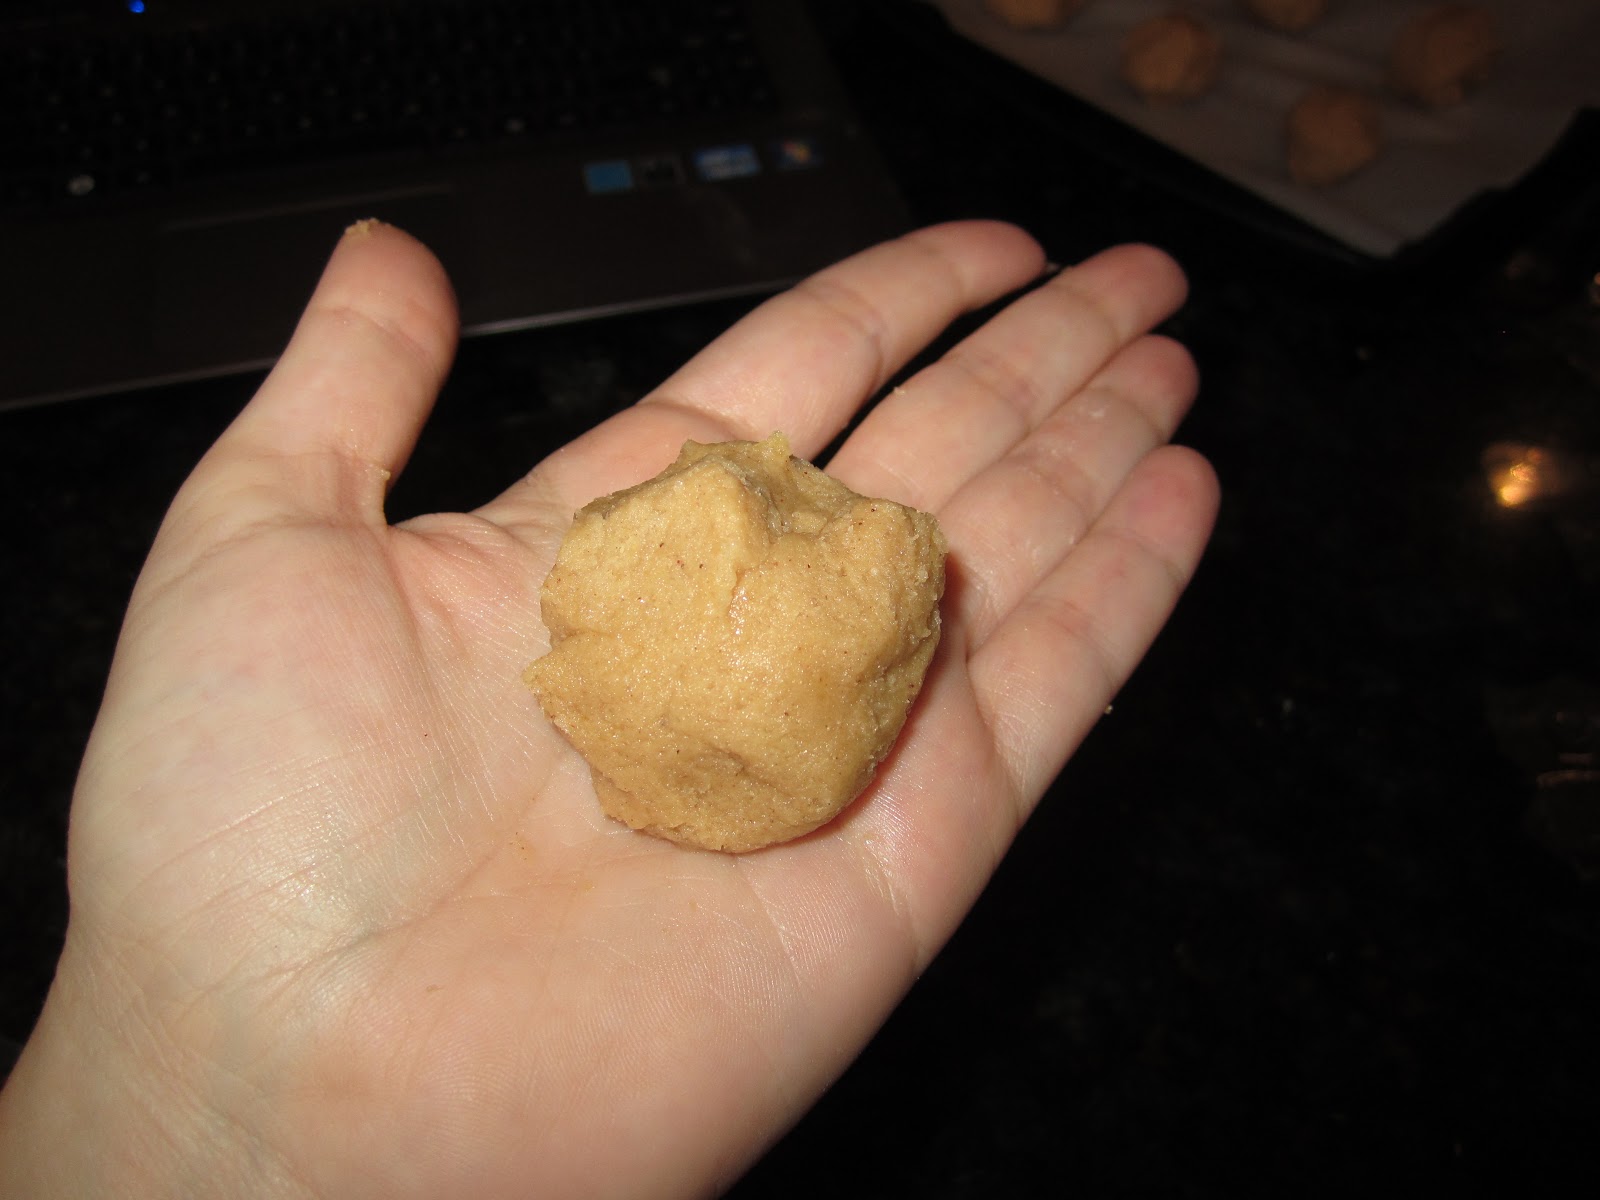
Unwrap all the caramels. Scoop out about a tablespoon of dough. Flatten the dough out in your hand, place a caramel in the middle, and wrap the dough around the caramel. Make sure the caramel is completely covered. Then place the cookie on the parchment lined cookie sheet 2 inches apart.

Bake the cookies for 12-14 minutes (mine took more towards the 14) or until very lightly browned around the edges.

After the cookies are done, lift the parchment paper off the baking sheet and allow it to cool on the counter. DON'T TOUCH THEM until they are cooled a bit. Then twist the cookies off and store in an air-tight container.

Wednesday, October 10, 2012

Potato Leek Soup!!

For today I am not doing a Pinterest recipe. I know, crazy right? Instead this is a recipe that comes straight from The Book and surprisingly I've never made it until today. That seems so, so wrong. C'est la vie.

I have now learned the error of my ways....

True, this recipe was done more out of necessity than anything else, but whatever. My mom intended to make the soup but then didn't have time to make it before she left for a vacation. This meant the leeks were getting to that point. You know what point I'm talking about...

Anyway, the soup is amazing and it was my responsibility to make it. So here we go!

Since the recipe is just written in The Book, I don't know where it came from initially.

Here's what you need:

Ingredients

2 smaller leeks or 1 larger leek
twine
coffee filter (optional)
2 bay leaves
20 black peppercorns
4 sprigs fresh thyme
2 tbsp butter
2 strips of bacon, chopped
1/2 cup dry white wine
5 cups chicken broth
1-1 1/4 lbs russet potatoes, diced
1 1/2 tsp salt
3/4 tsp pepper
1/2-3/4 cup heavy cream

The first step is to make a thingy (I'm so eloquent) that ties up the bay leaves, peppercorns, and thyme. The recipe recommended to tie it all up in a leek leaves. I am not NEARLY that coordinated so I used a coffee filter because my klutziness can handle that.


 Then put that little puppy aside. You'll use him later.

I like to chop up everything first because I am just not coordinated to do it when it's necessary. So here comes the leeks. You'll want to cut off the white-er parts, cut them in half length wise, and then rinse them. You'd be shocked at how much dirt is in there! Once it's washed, cut it across

Next peel and chop up the potatoes. Actually I have no idea if you're supposed to peel them, but I did it anyway. Then chop up the bacon. I used 3 slices because I really like bacon.

Once everything is chopped up, you're good to go. Put the butter in a large soup pot over medium heat and add the bacon once the butter is melted. Cook for about 5 minutes stirring occasionally until the bacon is soft. Yum!!!


Next add the leeks and cook about 5 minutes until they are wilted. It's starting to look pretty. 
Next add the wine and bring it to a boil. You'll see from the first picture I used frozen wine. Did you know you can save your wine by putting it in the freezer?? Food for thought...Moving on...Once it boils, add the coffee filter thingy, the chicken broth, potatoes, salt, and pepper. Bring that to a boil then reduce the heat to a simmer and cook for 30 minutes.

Once it's cooked, take out the coffee filter thingy and use an immersion blender or a food processor (I vote immersion blender). Just be sure not to use the blender to much. It's still good, but there is something about it being a smidge thicker. Here is the before, during, and after:

 Then add the heavy cream and voila! You're done!


Bon Appetite! Now go make this. I mean it. Do it now! You'll thank me later :)

Thursday, October 4, 2012

More Pumpkin! Pull-Apart Cinnamon Sugar Pumpkin Bread!

I'm sticking with the pumpkin theme since I love it and I had leftover after the Pumpkin Pasta. Since I have also been craving cinnamon rolls, I decided to go with a recipe I made for New Years Even, Pull-Apart Cinnamon Sugar Pumpkin Bread! I was also told this stuffy is also called Monkey Bread in some places? Whatever, it just tastes....Yum....

This recipe came courtesy of Sunny Side Up and it was relatively easy. Just a lot of waiting...And I hate waiting. But I love this bread so...WORTH IT!

Now the last time I made this recipe, I did something wrong I think. Maybe I didn't let the dough rise enough or maybe the pan was too small. Who knows. All I know is that last time this recipe EXPLODED out of the pan. Fortunately only a couple of the pieces were lost and it was still awesome. Allow me to show you....

Yeah it was nutty. It looked like a mad scientist's experiment. ha. I also made the rum topping that the recipe recommended, but I wasn't really a fan of that so this time around I nixed the rum. It was just too much for me.

You can find the recipe here. Here are the ingredients, although I forgot the vanilla.


 First you brown the butter. I don't think I browned it enough, but eh, it happens. And then we added the milk.


Next step was to to proof the yeast


Add the rest the pumpkin, flour, sugar, and yeast. Then kneed the hell out of it!! Yeah buddy...God I love my Kitchen Aid Mixer.


 Let it rise for an hour or so and then punch it. This is the dough post-punch as you can tell from the imprint.

Roll that puppy out and then add the cinnamon sugar butter filling. I went with putting the melted butter on the dough and then adding the sugar mixture. I think I needed a bit more butter because it was pretty dry.


Then I cut it all up into 36 square pieces and then shoved them all into the pan.  My pieces were a bit thinner than last time because the darn dough got stuck. C'est la vie.


Then it's time to bake that puppy at 350 degrees for 30-40 minutes. Based on my previous experience, I highly recommend that you put cookie sheet on the rack below the pan because sometimes the squares pop and last time it kind of oozed over the side and made a lovely mess on the bottom of my stove.

Here it is fresh out of the oven. I had to use all my self control to not start eating it right then and there because there is still the topping to make!!


I went with the vanilla instead of the rum. Yeah for melted butter and vanilla and sugar!!


And tada! The finished product!And it was just as awesome this time as it was last time which was evident from how quickly mom and I inhaled half of it immediately. Warm, gooey, awesomeness.

Monday, October 1, 2012

Crispy Parmesan Asparagus

I don't know about you, but when I think about asparagus, I don't usually think about putting it in the oven. But that's exactly what this recipe called for.

And let me tell you...It. Was. Awesome.Like seriously awesome. So awesome, in fact, that I made it twice within a week.

This was another recipe that I found on Pinterest and it came originally from How Sweet It Is.

I was so excited when I made it the second time I forgot to take a picture of the ingredients. Oops!

Here's what you would need though for the recipe:
1 bunch of asparagus
Egg whites (the recipe called for 2, but I ended up needing 3)
1/4 cup flour
1 cup of panko breadcrumbs
1/4 cup grated Parmesan cheese
salt and pepper

You can see the full recipe here.

Now I am going to warn you now. This recipe is MESSY!! My biggest suggestion is to split the dry ingredients up into two batches because the mixture got goopy pretty fast. That might be my lack of skills, but regardless I think the two batches would make the whole process easier.


I probably should have cooked it a bit longer until it browned more, but it was still yummy and crispy. Even my dad liked them and he is super picky about vegetables. This one made The Book :)

Oh and a quick word of caution. I made the mistake of microwaving leftover spears and they were mushy. I would reheat them in the oven or a toaster and I'm sure they would be wonderful!

Sunday, September 23, 2012

Avocado Salsa

You know how you have those go-to recipes for when you are invited for dinner? This is my go-to.

I LOVE this salsa/dip/salad. It's nice and light and tastes awesome and everyone loves it! Plus it has avocado and we know how much I LOVE avocado! Alright enough of me raving...

Here's what you'll need:


 1 can of black beans - drained and rinsed
1 small can of corn (I like to use Mexicorn) - drained
3 green onions, sliced
1/2 red onion, chopped
1-2 tomatoes, diced (I scoop out the insides to make it less soupy)
2 avocados, diced
1 package of Good Seasoning Italian dressing mix
1/4 cup olive oil
1/8 cup white vinegar

Plus some tortilla chips. I like the scoops ones because I think they work the best since this puppy is chunky!

Once you have all the ingredients chopped and sliced and diced, just mix it all together in a medium sized bowl and serve! Easy peazy!


Sorry the pictures aren't that good. I was in a rush to get out the door after making it to get to a bbq. I'll try and take better ones next time!